Browsing Category

Happy lil ❤’s are baking

Happy lil ❤’s are baking ~ Plain Vanilla Mom

 This month we have a wonderful treat ~ guest posts for Happy lil ❤’s are baking ~ from some wonderful blogger friends! Today Jen from Plain Vanilla Mom is sharing a recipe that I am super excited to try out!  And you should see the other delish recipes at Plain Vanilla Mom *smile*


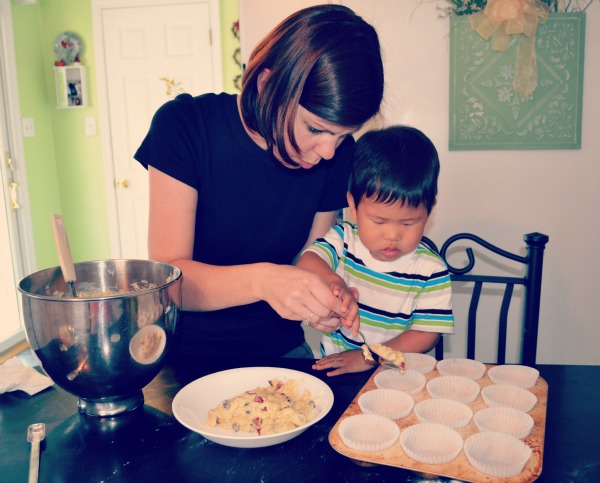
Hi, I’m Jen! I blog over at Plain Vanilla Mom.  I am so happy to be guest posting here on Happy Whimsical Hearts! When Kelly said she was in need of some baking posts I was thrilled to be able to help out. Baking with my kids is one of my favorite things and I love Kelly’s series!
Plain Vanilla Mom
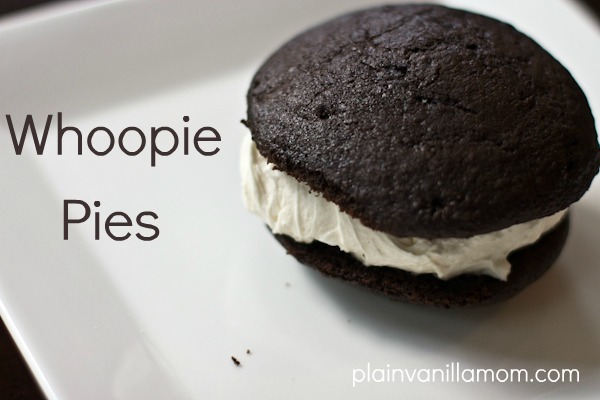
Many of the fond memories I have of my childhood are associated with my Mom and our kitchen. I remember getting off the school bus and walking through the door to the smells of chocolate chip cookies, cherry pie, whoopie pies and the list goes on. Seems like my Mother always had a treat for us. One of my all time favorite treats as a child was those whoopie pies. Appropriately so seeing as I grew up in the great state of Maine and the Whoopie Pie is the official state “treat” (not to be confused with the official state dessert…which is apparently blueberry pie if you are interested).. love that too.

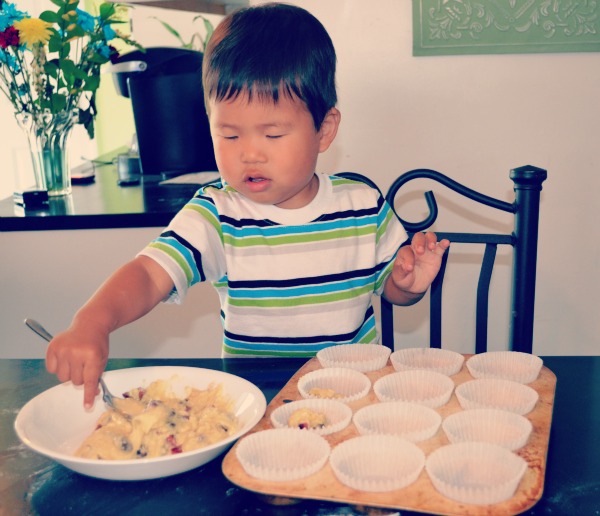
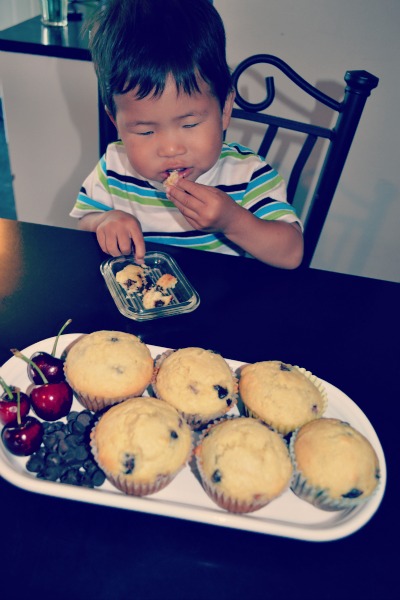
Long after I moved out on my own I have continued to love making (and eating) whoopie pies and I am happy to pass the tradition along to my kids.  I use the same chocolate cake recipe my mom used although I have tweaked the filling a bit over the years. Today I’m sharing with you my whoopie pie recipe as it stands today. Trust me when I say if you’ve never made these you MUST! And you won’t be disappointed 🙂
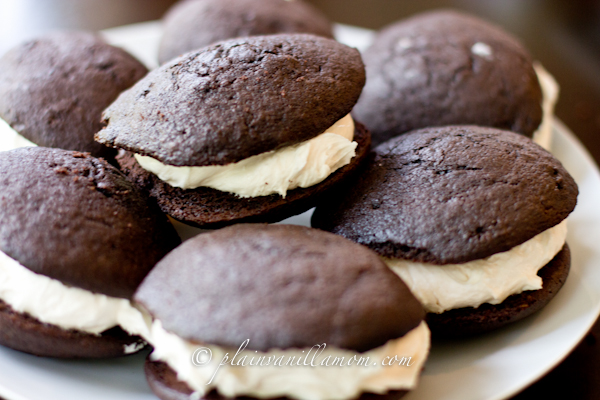
Whoopie Pies
2 c. flour 
1 c. sugar
1/2 c cocoa
1/2 tsp. salt
1 1/2 tsp. baking soda             
1 1/2 tsp. baking powder
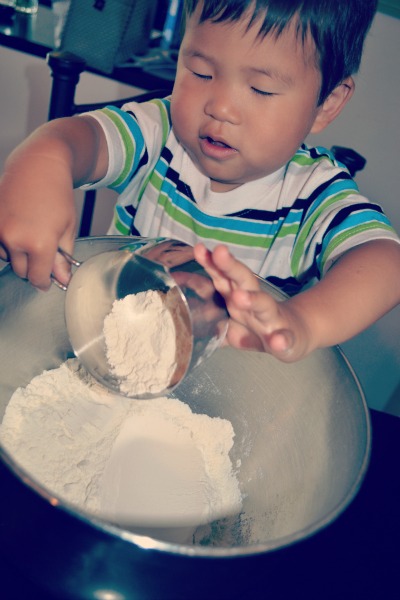
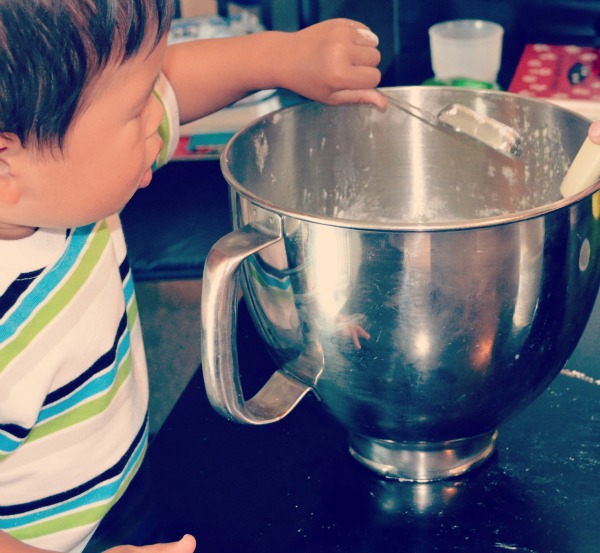
Sift the above ingredients into a bowl.
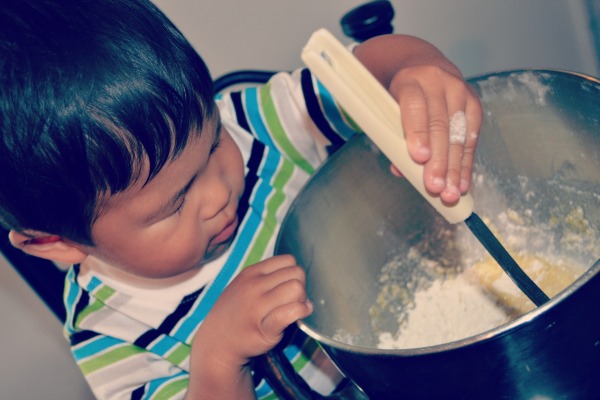
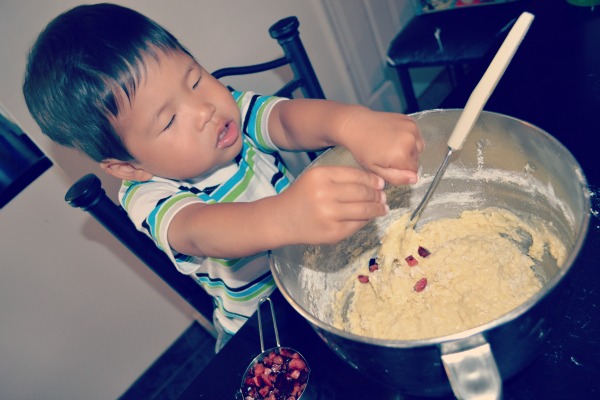
Then add 1/2 cup shortening, 1 egg, 1 cup milk and 1 tsp. vanilla.  Mix well.  Drop by teaspoonfuls onto a greased or parchment papered cookie sheet.
Bake at 425 degrees for 5 to 6 minutes. You want the cakes to spring back when touched or be able to have a toothpick come out clean when inserted into the center.
Transfers cakes to a cooling rack and cool completely. While they are cooling go ahead and make your filling.
Filling
2 sticks of butter softened
3-4 cups powered sugar
1/2 cup heavy cream
1 tsp vanilla

To assemble the whoopie pies just put a generous dollop of filling on one cake and sandwich it with another. Then enjoy the best part…eating them. You can store them in the refrigerator in an airtight container for a few days. I actually have grown to prefer mine a bit chilled.

And now, we can’t wait to see what you’ve been up to in the kitchen with your kids!
~ Please link up
~ Use our button (from the sidebar) so others can join the fun
~ I’d also love for you to follow us, and why wouldn’t you want to 😉
Happy baking, Kelly   


Happy lil ❤’s are baking ~ famiglia&seoul

This month we have a wonderful treat ~ guest posts for Happy lil ❤’s are baking ~ from some wonderful blogger friends! Today Gina from famiglia&seoul and her super cute son are sharing a yummy muffin recipe with us. Reading Gina’s blog is like dipping into a love letter written to her son, it is wonderfully heartfelt, and always leads to me reminiscing about my childhood *smile*

It has been quite a while since I had my little toddler in the kitchen helping me to bake.  Too much time, in fact.  That’s why I was thrilled to be doing a guest post here at Happy Whimsical Hearts – especially for Happy lil ❤’s are baking!  So, I herded my little guy into the kitchen this past weekend to be my assistant while making some yummy Chocolate Chip Cherry Muffins.  He’s never had fresh cherries before, so I thought this would be a great way to introduce them!

We got started mixing up all of the dry ingredients one at a time.  He just loves pouring the cups and small teaspoons into the large mixing bowl after I measure them out!


After all of the dry ingredients were added, I added the eggs and gave him a little hand with the milk.  He could spend all day mixing the batter, around and around.  He’s had plenty of practice with his own special mixing bowl and spoon that we keep in his little play kitchen. 

Then came the fun part! Adding the chopped cherries and chocolate chips.  When I handed my little guy the cups of each he decided to take his time…by adding each piece one by one!!  After a while, I finally encouraged him to dump the remaining chips in the bowl! 

The next task was perfect for your little hands.  You took each of the muffin cups and placed them on the muffin tin, waiting to be filled.

I started out by giving you a bit of instruction on how to fill the muffin cups, but of course, you added your own little flair to it.  It was apparent that you wanted to make sure the batter stayed right where you put it, so you proceeded to pat the mixture into the cups after they were filled!

Ahh, the joys of having a toddler in the kitchen!  That’s alright, I think I made an even bigger mess than he did with the flour.  After patiently waiting for the muffins to bake and cool, you dug right into sampling.  I was so excited to see that you enjoyed the muffins and even the extra cherries I had lying on the plate! Mmmm, delish!

Seeing Gina’s happy lad with the cherries brought such a smile to my face…
…and what wonderful memories they are creating!
And now, we can’t wait to see what you’ve been up to in the kitchen with your kids!

~ Please link up
~ Use our button (from the sidebar) so others can join the fun
~ I’d also love for you to follow us, and why wouldn’t you want to 😉

Happy baking, Kelly