Making chocolates was always super fun when I was a kid. Choosing the molds, whether to add colour or flavour. Never mind getting to sample the end product! Actually, it might have been chocolate making that started my chocolate obsession?? (On a side note, my husband recently worked out my weekly chocolate budget… I’m not sure if he was more amazed, disgusted or proud of my clear dedication) Anyway, back to our current chocolate making.
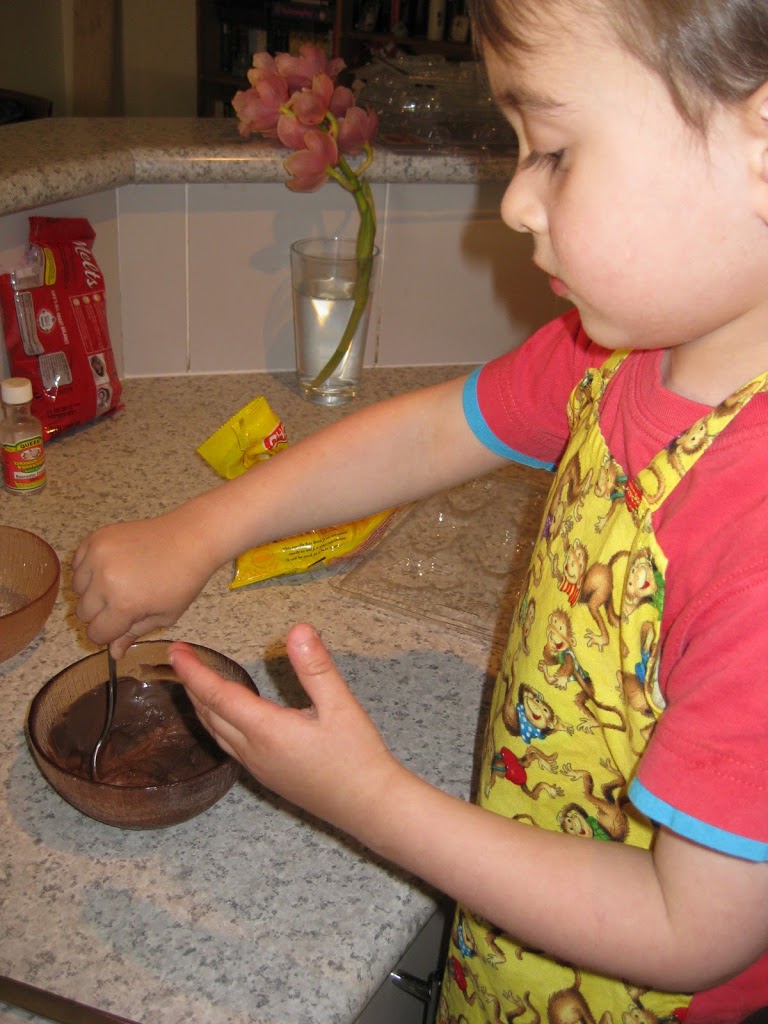
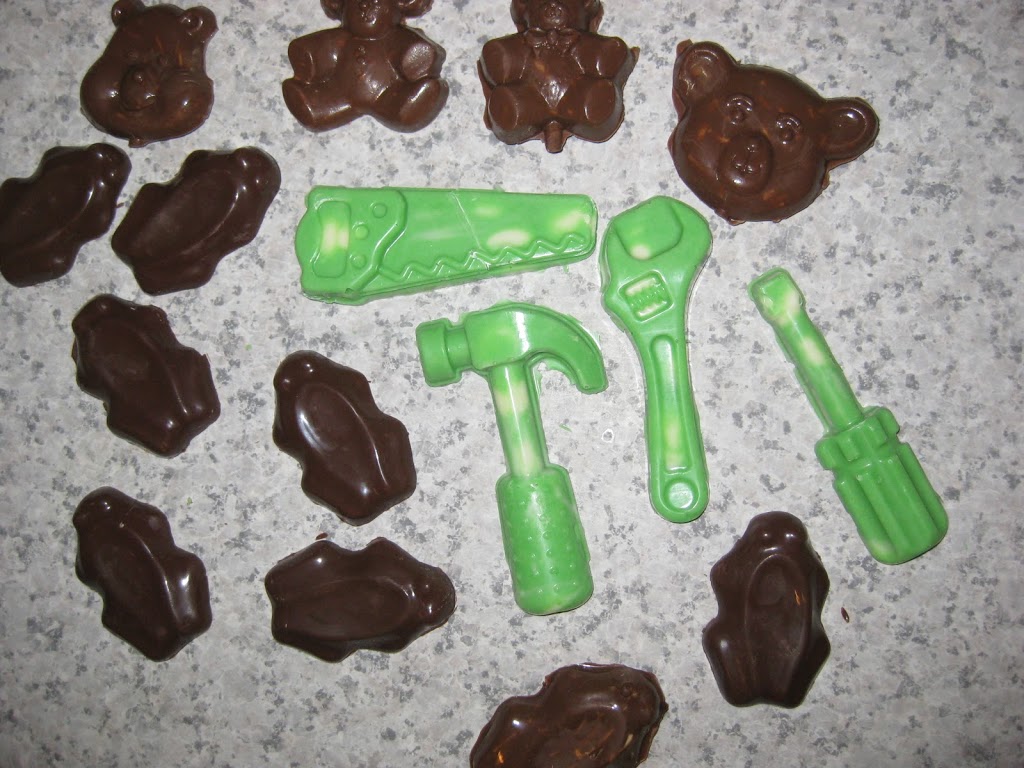
Master D chose to make bears, frogs and tools. We melted about a cup of chocolate for each mold – just in the microwave for about 40 seconds. For our frogs we made choc mint, just by adding some peppermint essence. For our bears we made peanut chocolate with crunchy noodles (yumo, just add a tablespoon of peanut butter and half a cup of crispy noodles) and for the tools Master D decided on white chocolate with green food colouring and rose water essence (odd)!

While we were making them Master D looked at the bench and said (with a fair bit of glee) ‘we’re making a mess mum!’ 🙂 After letting them set for about an hour we had a taste test, although I was apparently only allowed to eat the frogs. Master D chose to eat a hammer first but soon afterwards told me that his tummy was rumbling and could he have another?
Thanks for reading, Kelly