There is no such thing as too many rainbows. They make us smile. They are whimsical, beautiful and fun to create. They can transform a peg doll or a wooden egg!
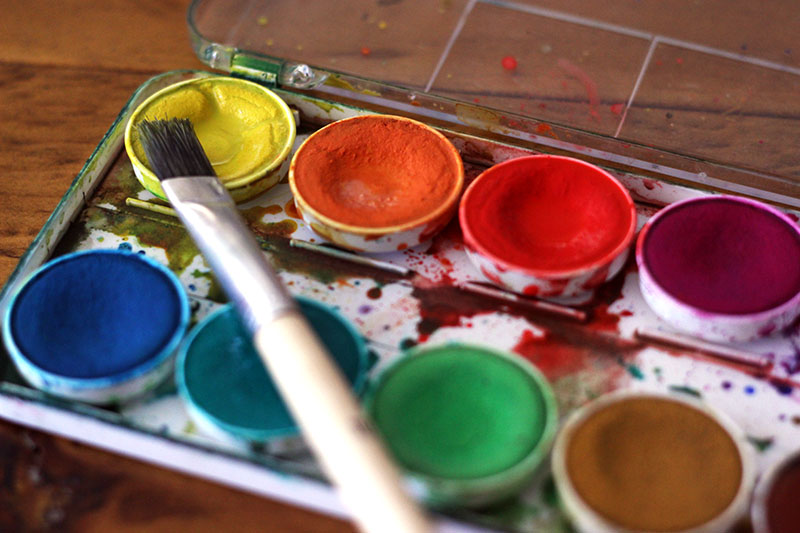
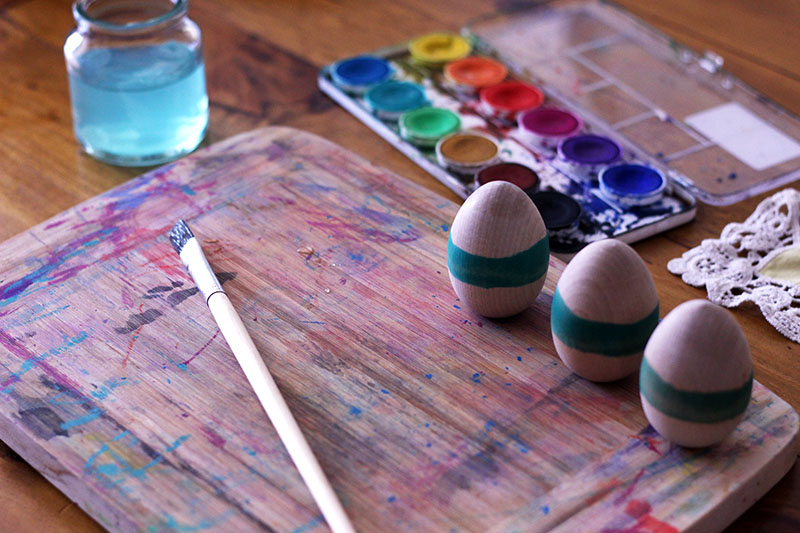
To make our wooden rainbow Easter eggs I used:
Starting in the middle of the egg I painted a green ring. Not worrying about having clean lines so later the colours would overlap and run, giving the eggs a beautiful organic feel.
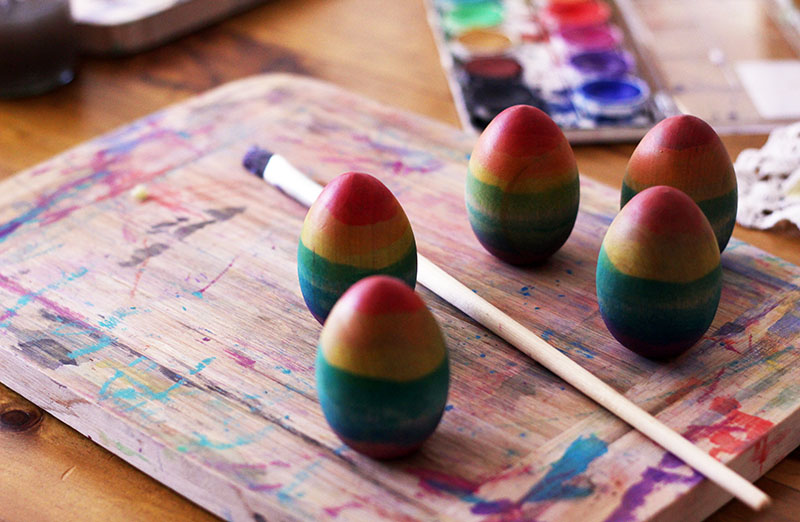
Next I painted red at the top and violet at the bottom. Only allowing the colours to dry slightly before adding the colours between, letting them overlap and mingle. Creating a gentle and beautiful rainbow.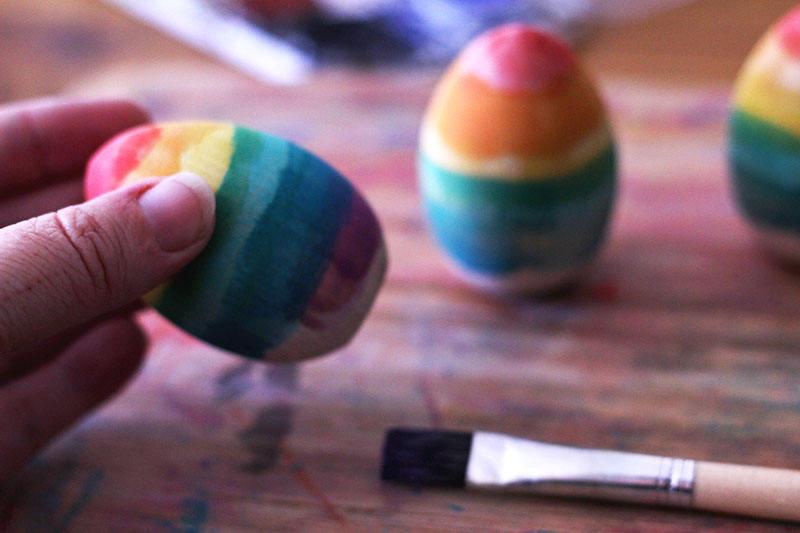
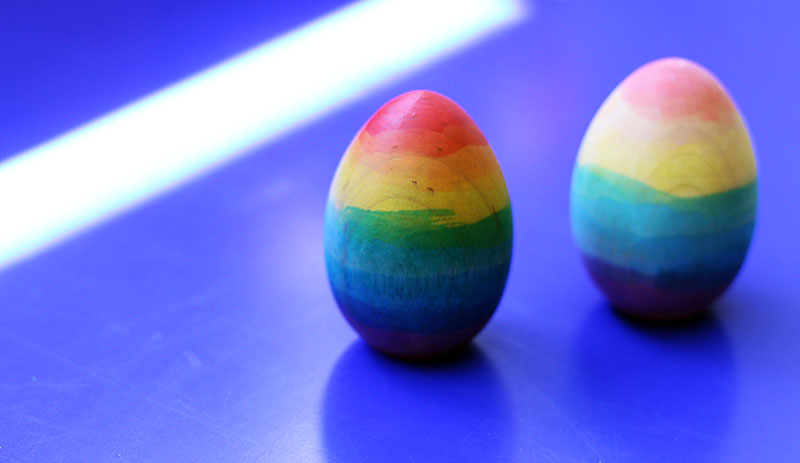
Once the paint dried I used my hands to rub the eggs with homemade olive oil and beeswax polish. The polish protects the wood, but also deepens the colours. Leaving a vibrant colour with a gloss finish (the photograph above shows one egg with the polish and one without). Working with the polish is lovely, it has a warming beeswax scent and is gentle on the hands.
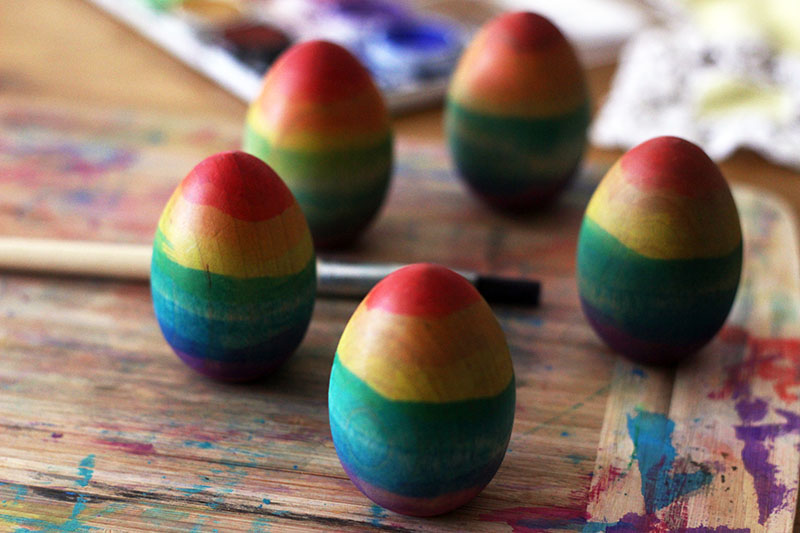
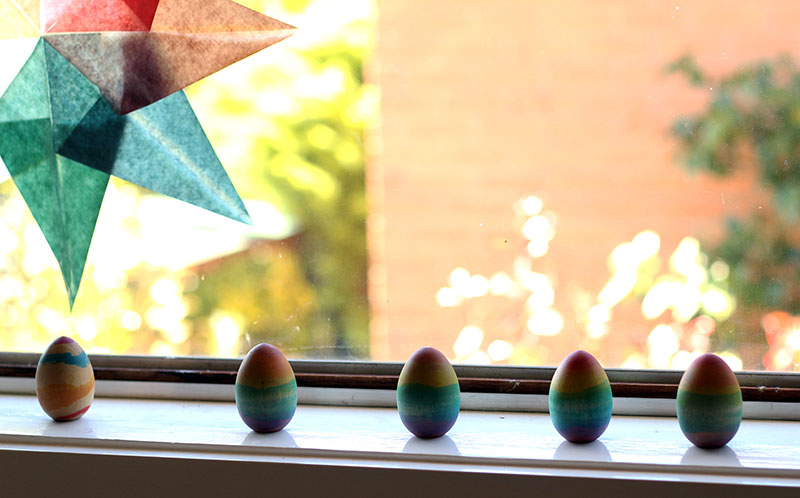
Our beautiful rainbow Easter eggs now sit along our window sill helping us build towards our Easter celebrations.
Happy crafting, Kelly

13 Comments
Beautiful!
The eggs look beautiful! We did this at our Waldorf playgroup. We used a wood burner including the older children and then used watercolour. I really miss out playgroup:(
Love the new banner btw:)
They look spectacular! 🙂
Oh – so clever!
Sooooo beautiful.
[…] ← Painting rainbow Easter eggs […]
They look great. Love your pictures
Oh, I love these! How beautiful do they look sitting there on your window sill! I wish we had thought to do something like this for Easter. The children would have loved them. I might get some wooden eggs now so I am all prepared for next Easter 🙂
Kelly the eggs are gorgeous!
Your wooden eggs look so gorgeous! Such nice, gentle colours!
They are beautiful. The kids are loving ours too. We have a rainbow with all the eggs but I think we might need some little rainbow ones too next year.
[…] Rainbow Easter Eggs […]