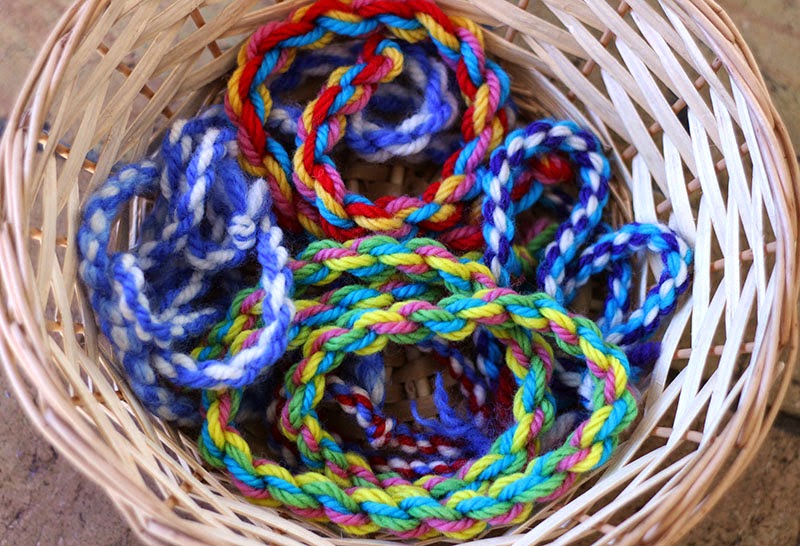
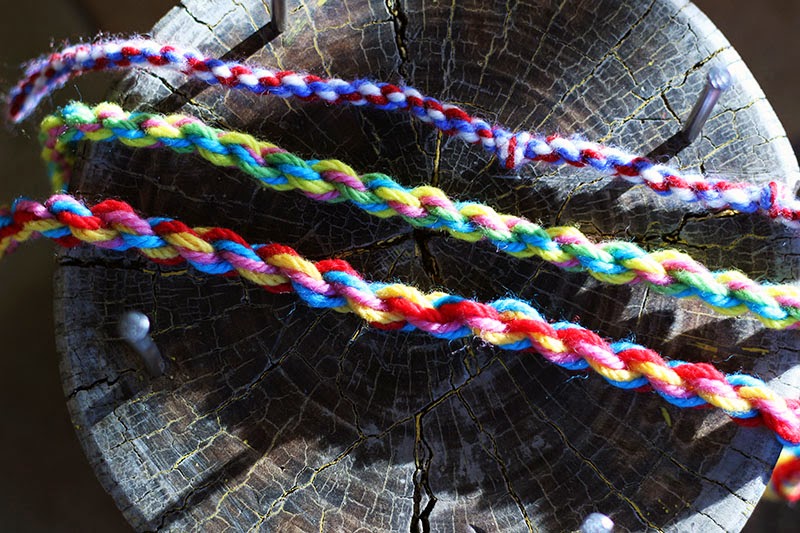
Making wool twisties is the first handwork project for children at our Waldorf school. A wool twistie is a simple and pretty wool rope. It is a great open ended material which can be used as horse reins, fishing line, jewellery or whatever the little ones come up with!
How to make a wool twistie
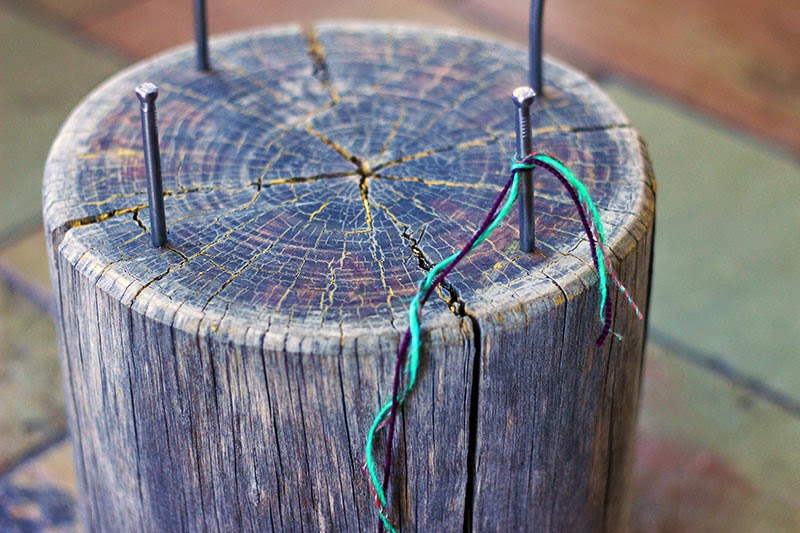
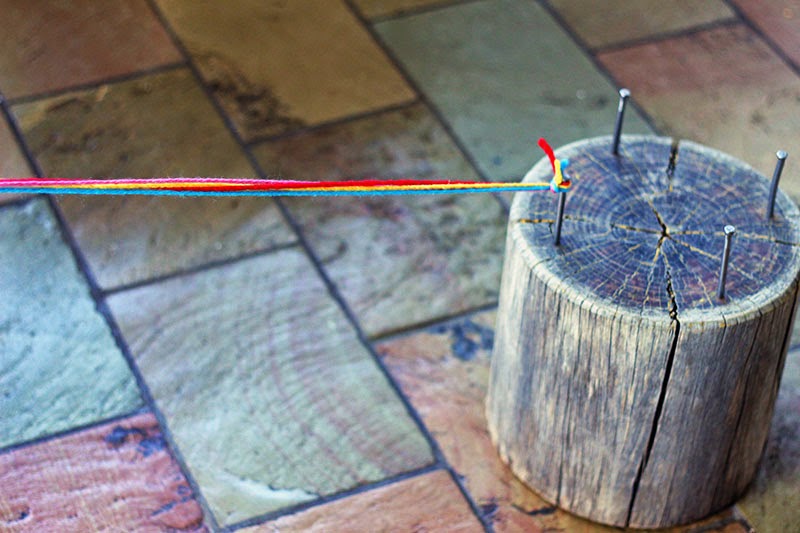
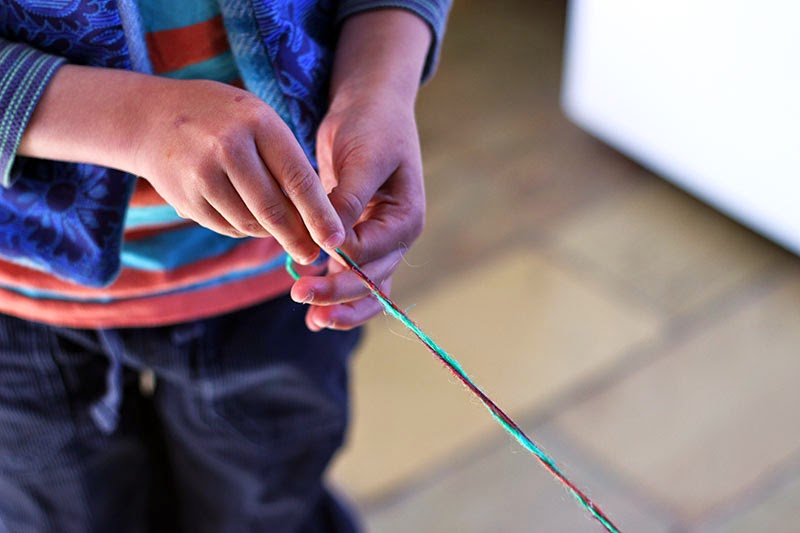
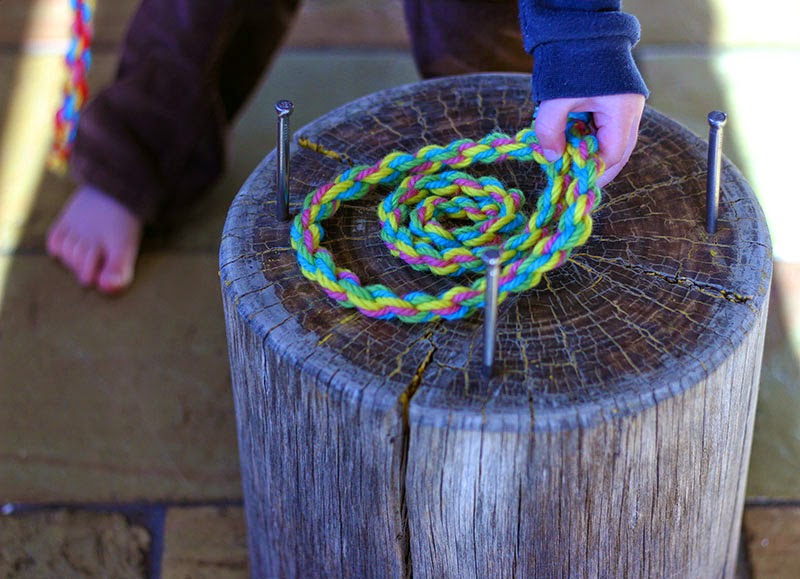
Select three or four colours of wool to cut into long pieces (around two meters). Hold the strands together and tie one end to a nail like in the photo, to a door, or even in a knot to simply hold under your foot.
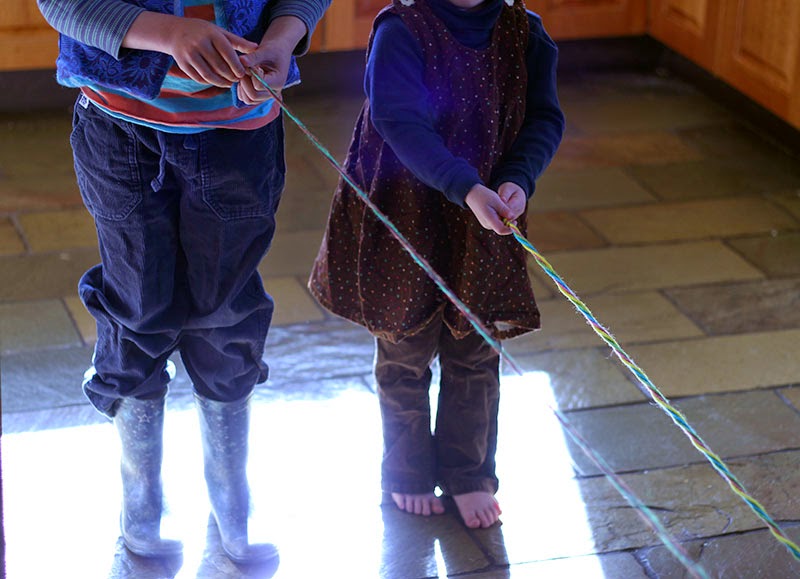
Pull the wool taut and start twisting in one direction until the twist is tight. Children and adults can easily let go as they are twisting ~ so hold on!
Once the twist is tight, fold the twisted wool in half to bring the two ends together ~ again don’t let go or you will need to start again. Smooth the kinks out of the wool twistie and tie the ends together. Trim off any excess. And voila ~ a wool twistie!
Why is handwork important?
Handwork is taught in Waldorf schools to develop fine motor skills {especially for pre-writing}, gain an appreciation for the handmade, as well as appreciation for beauty and creativity. Children {and adults} can learn much from handwork, including perseverance and self reliance. Using beautiful materials, some patience and creativity it is amazing what we can come up with!
I find handwork centering, an almost meditative activity. And I enjoy seeing the pride my son has in making things for himself, accomplishing these tasks and building his abilities.
Here is more information from the Waldorf Library about the important of handwork in Waldorf schools.
Happy crafting,
Kelly


24 Comments
How have I never heard of these. Thanks for sharing, I think the kiddos will love this.
They are great fun, and so useful too 🙂
What a great idea. What ages do you think would best be suited to this activity? I would like to do it but might need to wait for my 3.5 yo to get a little more dexterous. Thanks for sharing 🙂
My daughter is about the same age Kate, and she likes to help make these. I just help her with tying and folding the wool over (when it is important to not let go). Even if your little one chose the wool and helped twist for a little while it might go well 🙂
We’ve got a tree stump right outside the back door that is perfect for my 7 year old to twist some yarn (I use to do Amber’s) this is perfect timing as we were just finishing pom poms and needed another yarn activity to keep little fingers busy.
I know we don’t need the tree stump 😉 but even setting it up with the nails and sanding it was a lovely task my son and I enjoyed together 🙂
I always wanted to know how to make one! thank you so much for sharing! pinned!
This is great! Thanks. Miss 5 has been right into making wool friendship bracelets lately. She will love this.
I hope she enjoys!
oooh cool! My kids will love this!
What a fun craft idea! Pinned to use with my boys 🙂
What a fun craft! I hadn’t seen that at our Waldorf School. Thank you for sharing at Sharing Saturday!
Interesting learning regional differences!
We love making these too! It always surprises my kids that they don’t come undone. I also have a basket of knitted I-cords for them to use.
Thank you so much for sharing this. I’ve made some cords for my children to use, but I crocheted them instead. This would be something very simple for them to do.
What a great project for my littles! I have been trying to figure out how to incorporate handwork in our homeschool, but am not entirely sure they are ready for knitting…so this looks like a good place to start!
[…] made twisties using Christmas-y coloured wool (we share how here). Then threaded a bead onto the twistie to ring […]
[…] the kids made some new wool twisties ~ with a bead in the middle ~ to tie through the end of their whirly gigs (see how […]
[…] Make some wool twisties. […]
[…] Make some wool twisties. […]
[…] Wool twists are gorgeous and you can find how to make them over at Happy Whimsical Hearts: Wool Twists. […]
[…] Handmade woolen twisties […]
[…] a wooden tree stump that has nails in it for making twisties […]
[…] can learn how to make a wool twistie here […]