This is a sponsored post
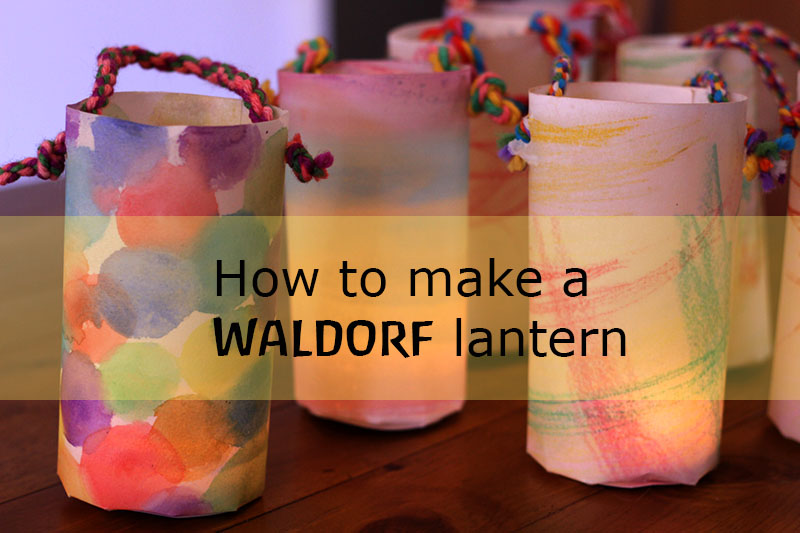
The idea was for the playgroup children to make their own Waldorf lanterns this year.
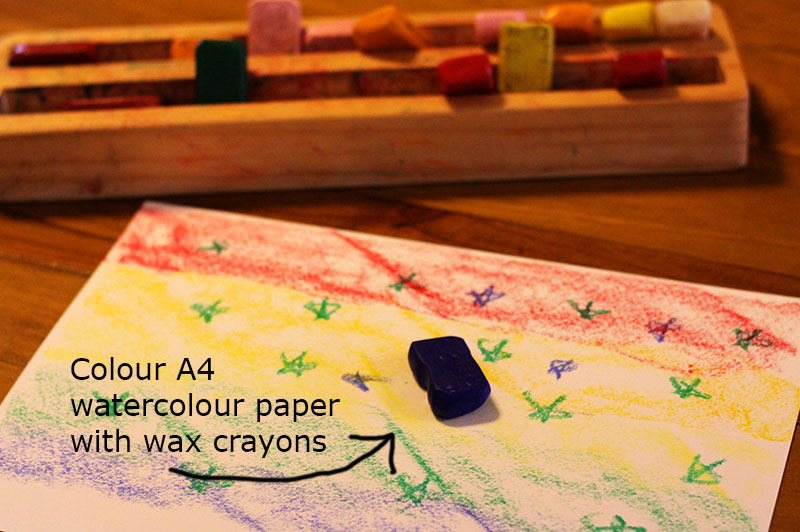
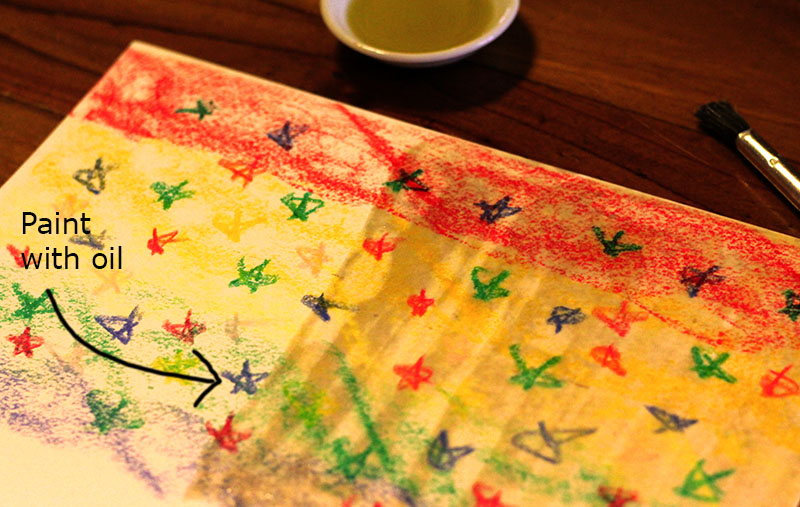
We made a good start, with most of the children colouring their watercolour paper and painting them in olive oil. The oil does a very special ~ and I think magical job ~ it turns the watercolour paper semi translucent. Allowing the candlelight to shine through ?
Then we had a public holiday and many of us ended up with colds. So Max and I ended up finishing the lanterns ready for our playgroup Winter festival. And I thought I would share how *smile*
You will need
- beeswax crayons
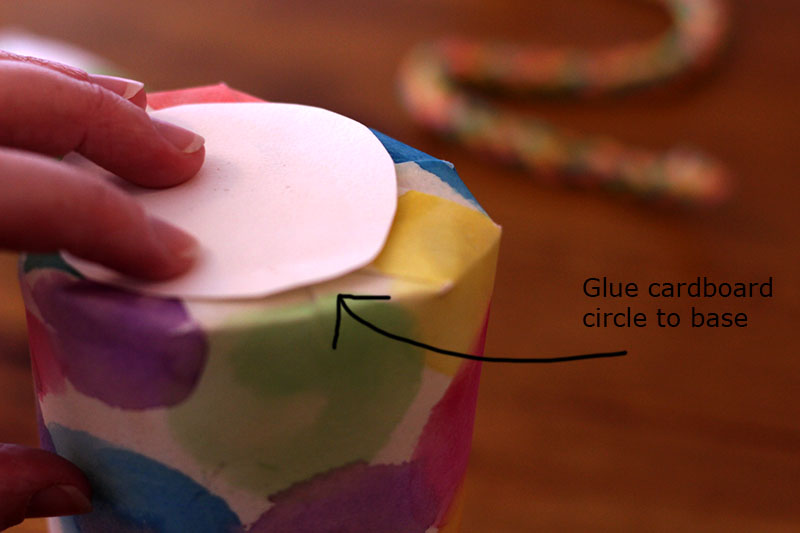
- watercolour paper
- olive oil
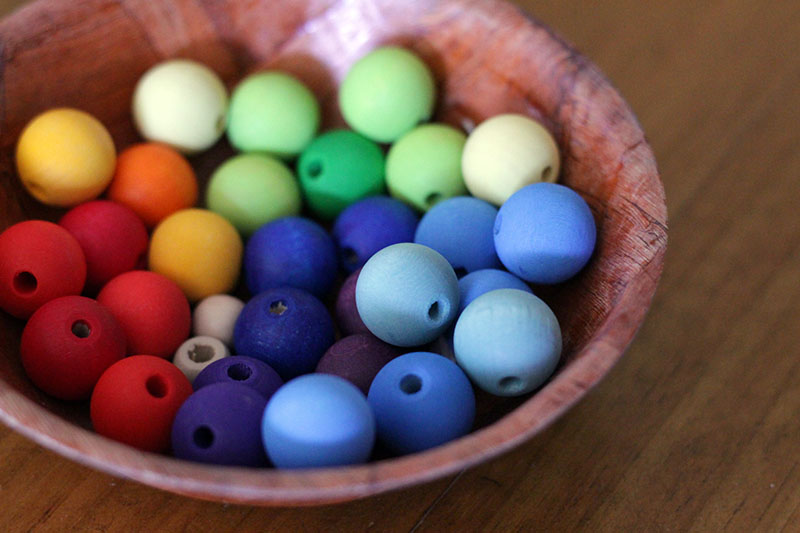
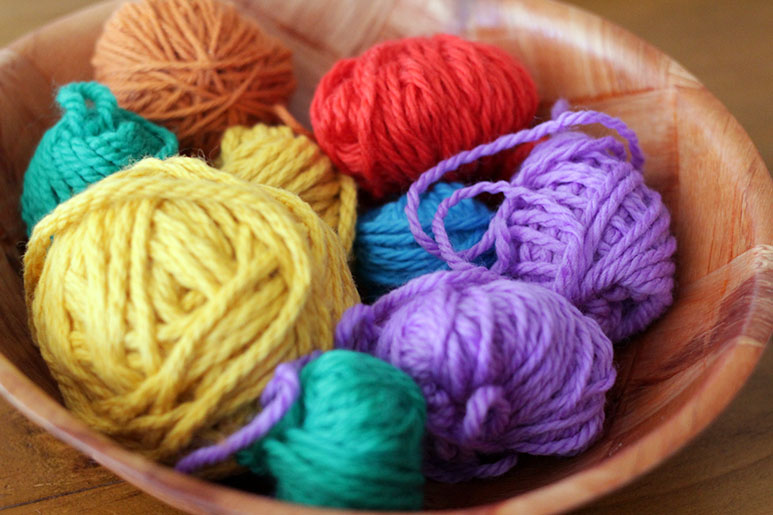
- children’s wool
- paint brush
- scissors
- hole punch
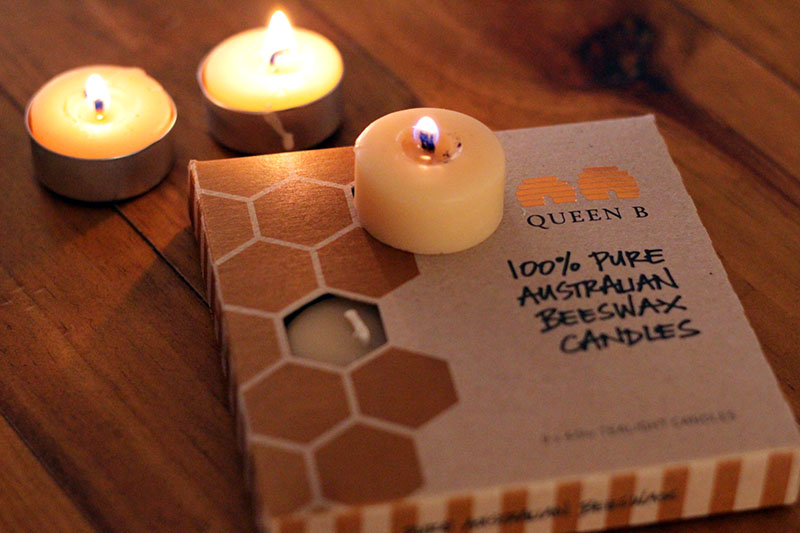
- beeswax tealight candles
And away we go…
You can also use watercolour paint if you prefer *wink*
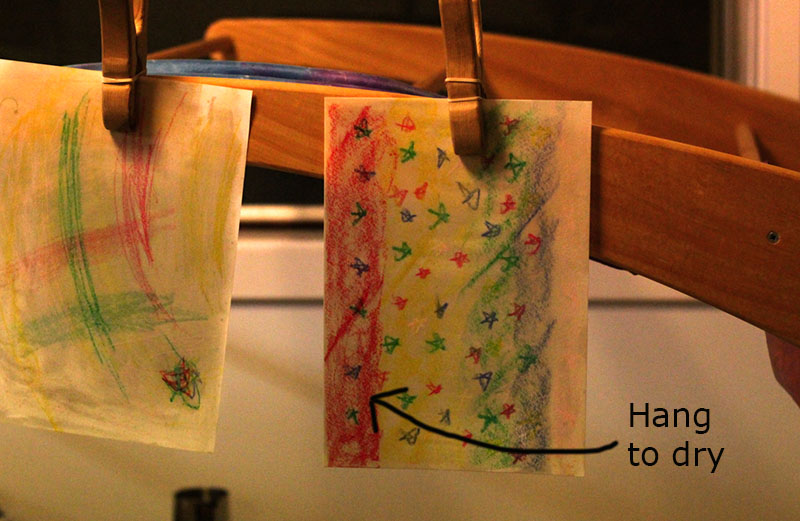
We tend to leave our watercolour paper to dry overnight, and then continue the project the next day.


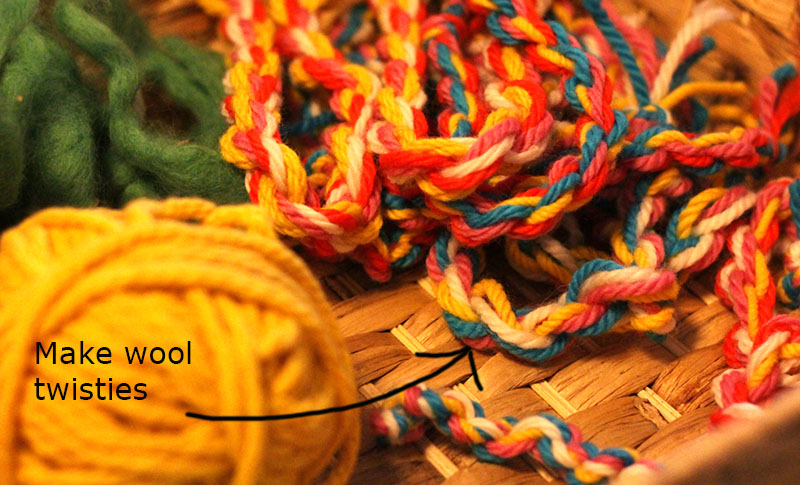
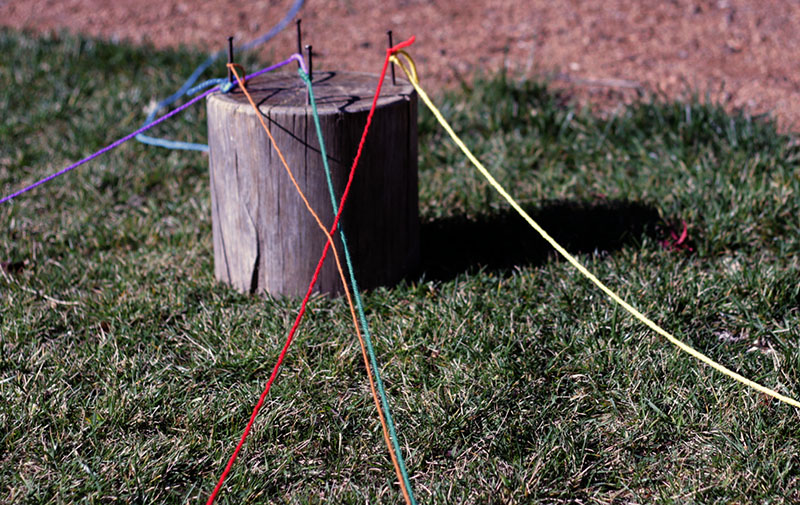
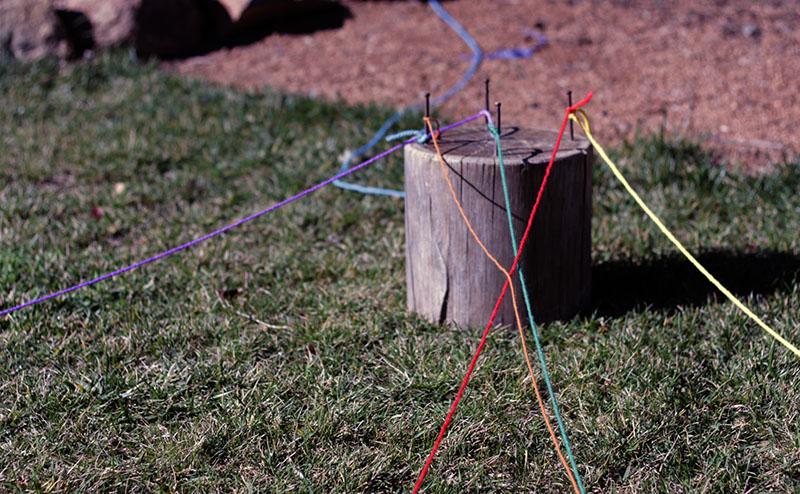
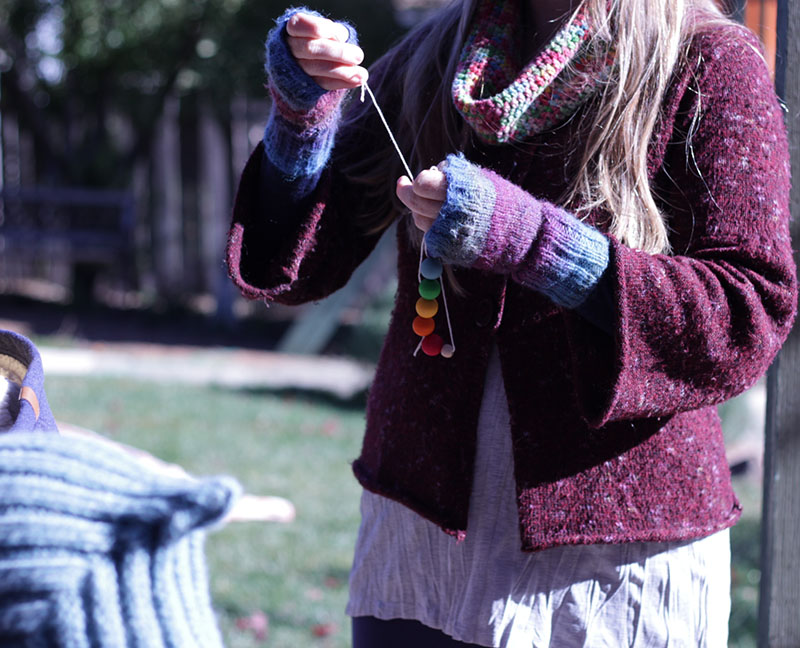
You can learn how to make a wool twistie here *grin*

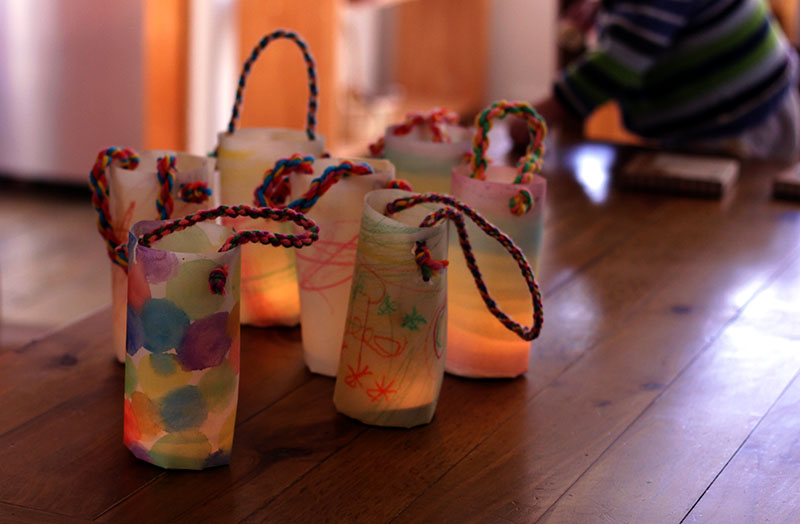
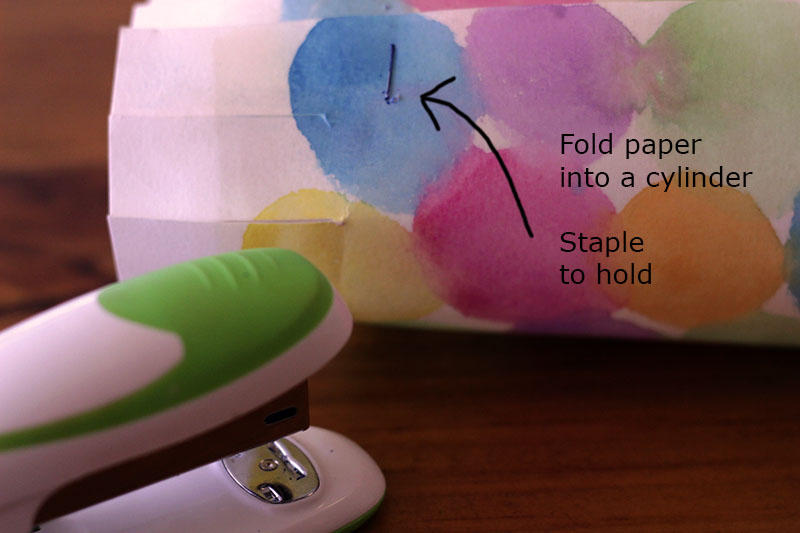
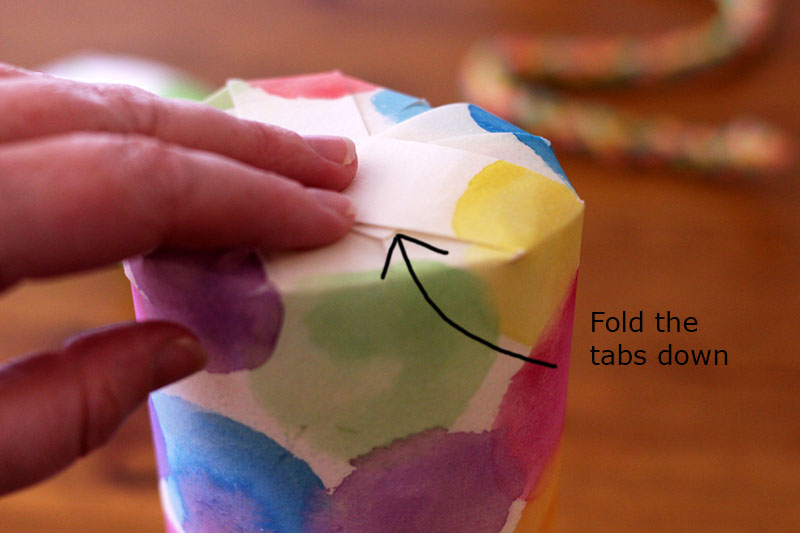
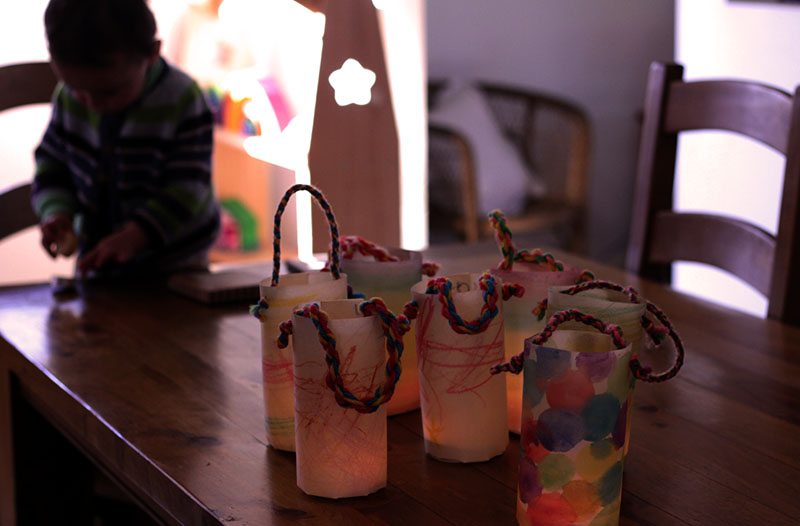
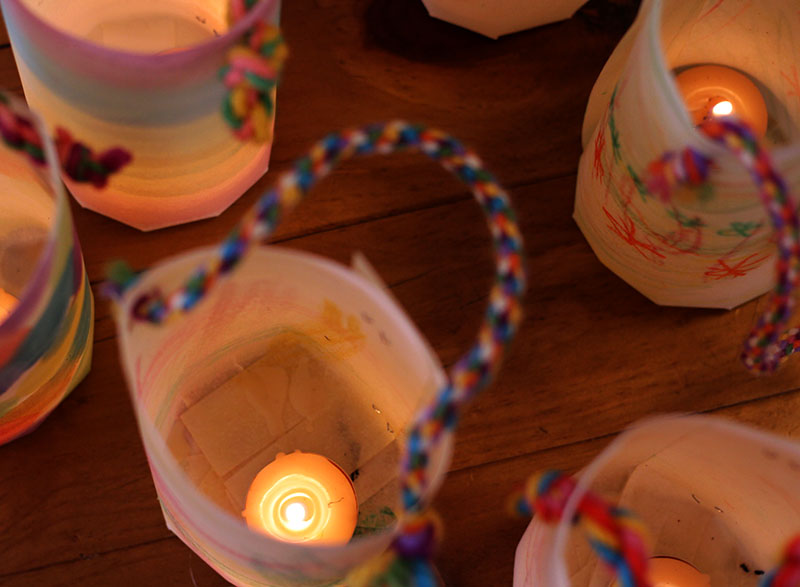
And there you have it, beautiful simple Waldorf lanterns!
Just add a beautiful beeswax tealight candle and you are ready for a Winter lantern walk.
We love using pure beeswax candles from Queen B in our lanterns (and in the house) Their scent is simply devine!
This post was sponsored by the beautiful shop, Dragonfly Toys. An Australian based Waldorf inspired shop which aims to keep the magic of childhood alive.
And Dragonfly Toys is offer 15% off for friends of Happy Whimsical Hearts at their store until 8 August 2016. Just use the code HAPPYHEARTS at the checkout.
You can see our last playgroup Winter festival here, as well as our Spring festival here.
??? And follow along on Facebook and Instagram ???
Blessings, Kelly