Browsing Category

Waldorf crafts

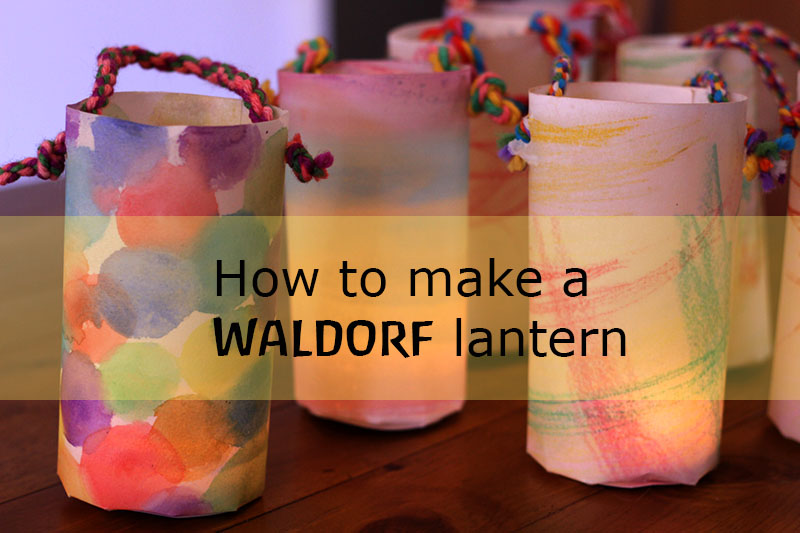
How to make a simple Waldorf lantern

how to make a Waldorf lantern

This is a sponsored post

The idea was for the playgroup children to make their own Waldorf lanterns this year.

We made a good start, with most of the children colouring their watercolour paper and painting them in olive oil. The oil does a very special ~ and I think magical job ~ it turns the watercolour paper semi translucent. Allowing the candlelight to shine through ?

Then we had a public holiday and many of us ended up with colds. So Max and I ended up finishing the lanterns ready for our playgroup Winter festival. And I thought I would share how *smile*
Winter lantern

You will need

And away we go…

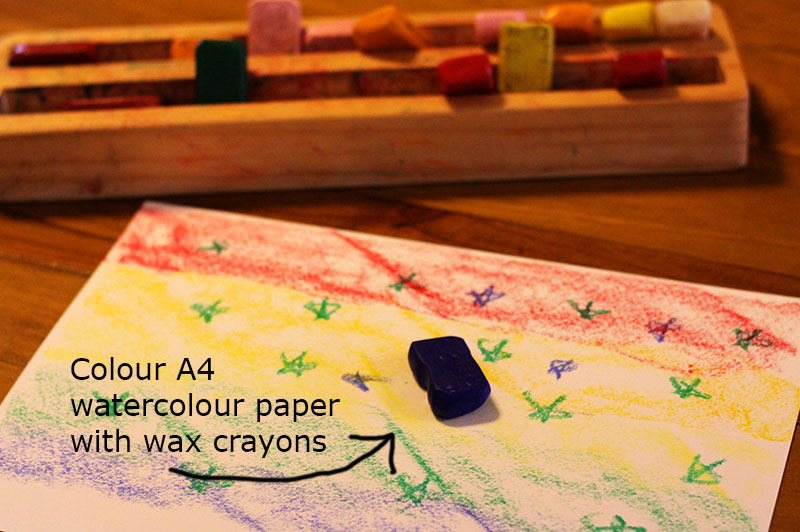
colour page with wax crayons

You can also use watercolour paint if you prefer *wink*
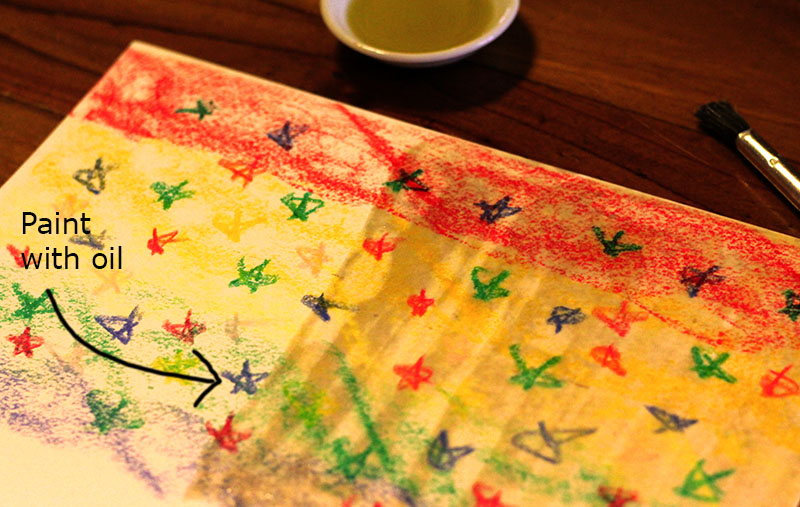
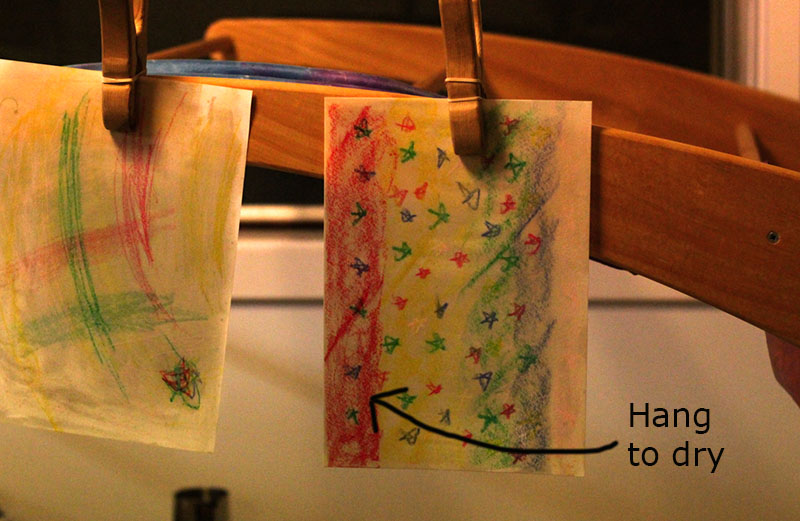
paint with oilhang to dry

We tend to leave our watercolour paper to dry overnight, and then continue the project the next day.

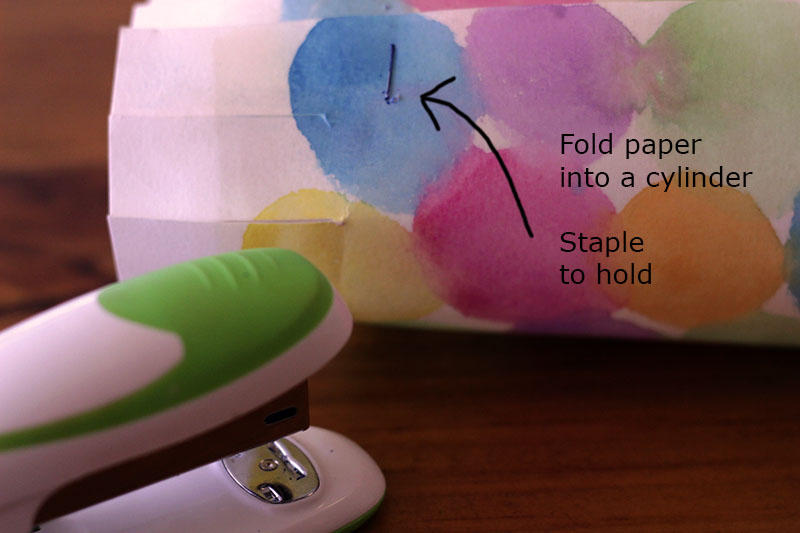
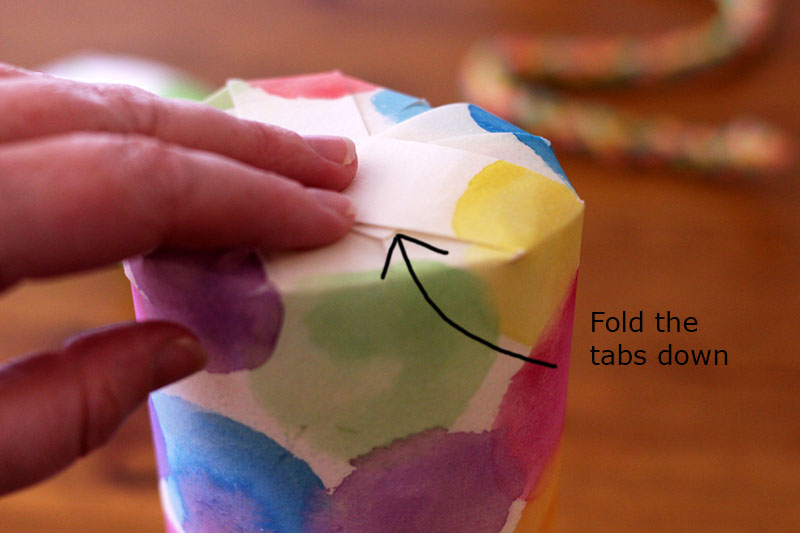
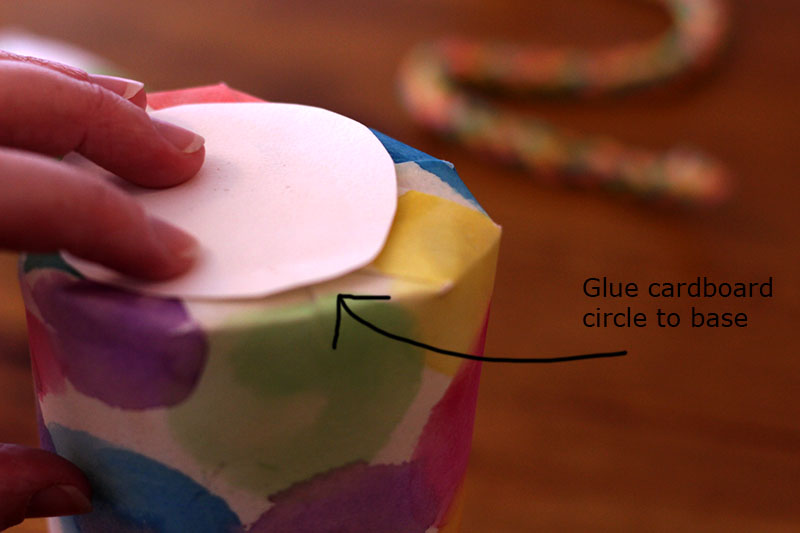
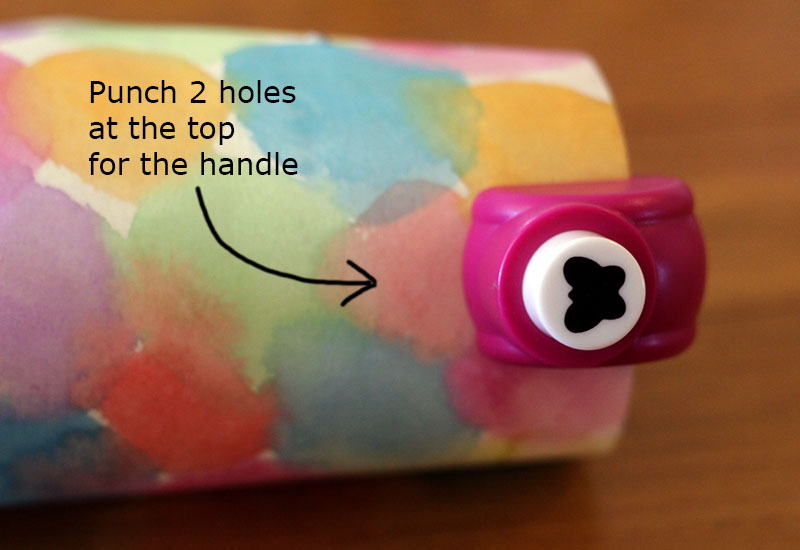
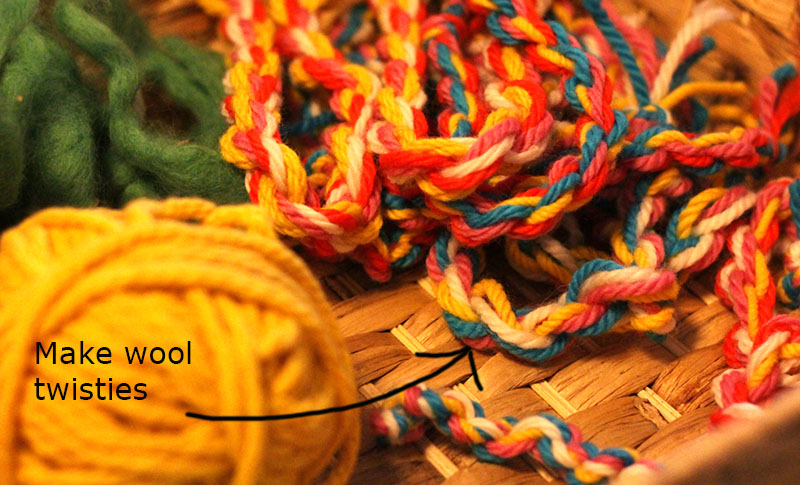
cutstapleglue endglue circle on endhole punchmake wool twisties

You can learn how to make a wool twistie here *grin*
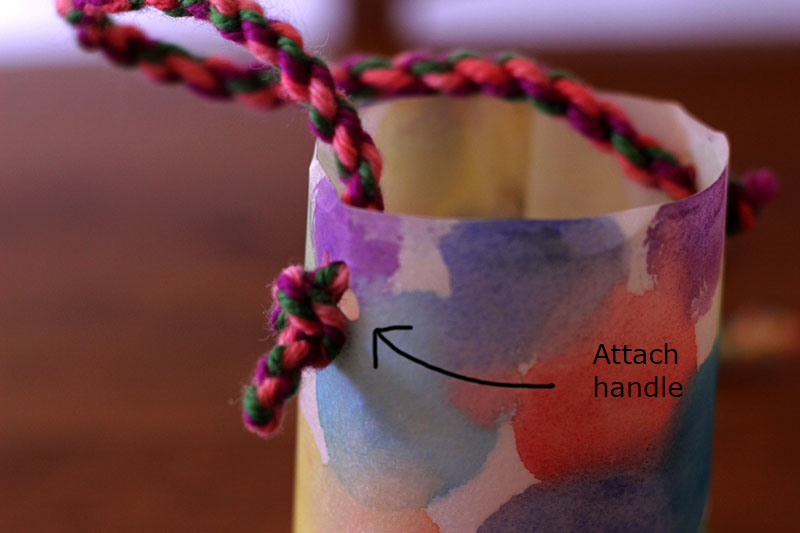
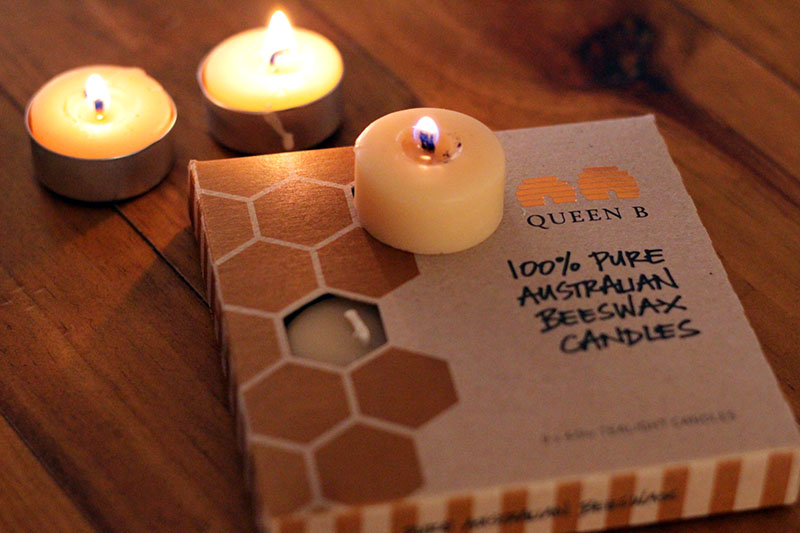
add handleQueen B beeswax candle

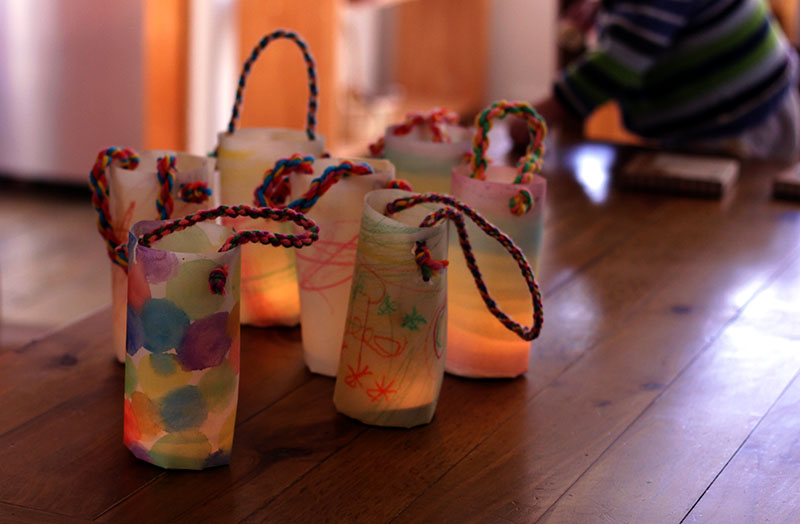
And there you have it, beautiful simple Waldorf lanterns!

Just add a beautiful beeswax tealight candle and you are ready for a Winter lantern walk.

We love using pure beeswax candles from Queen B in our lanterns (and in the house) Their scent is simply devine!
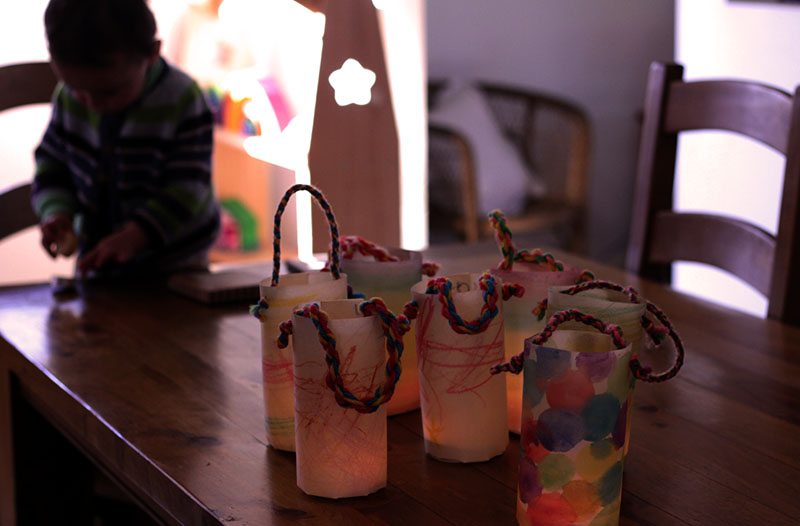
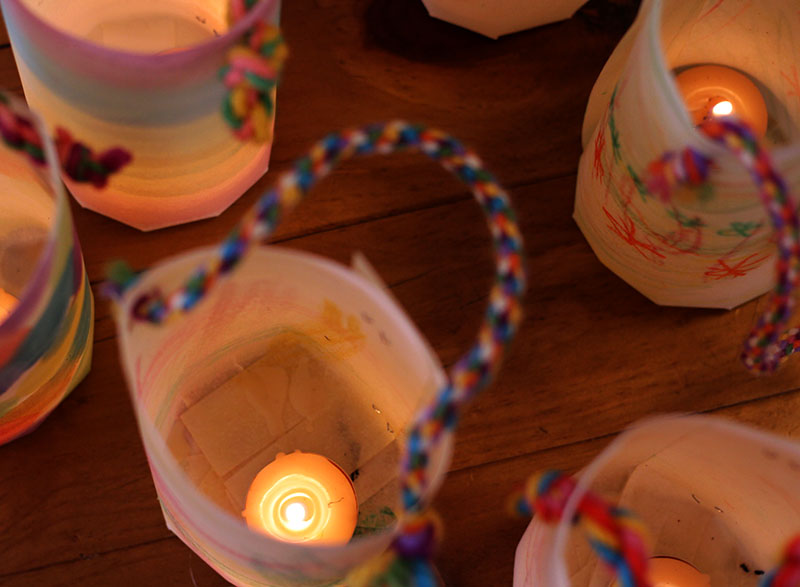
finished lanternscandle in lantern

This post was sponsored by the beautiful shop, Dragonfly Toys. An Australian based Waldorf inspired shop which aims to keep the magic of childhood alive.

And Dragonfly Toys is offer 15% off for friends of Happy Whimsical Hearts at their store until 8 August 2016. Just use the code HAPPYHEARTS at the checkout.

You can see our last playgroup Winter festival here, as well as our Spring festival here.

???  And follow along on Facebook and Instagram ???

Blessings, Kelly

Save

Save

Save

Save

Save

Save

Save

Save

Save

Save

Save

Save

A peg doll necklace

peg dollsThis is a sponsored post

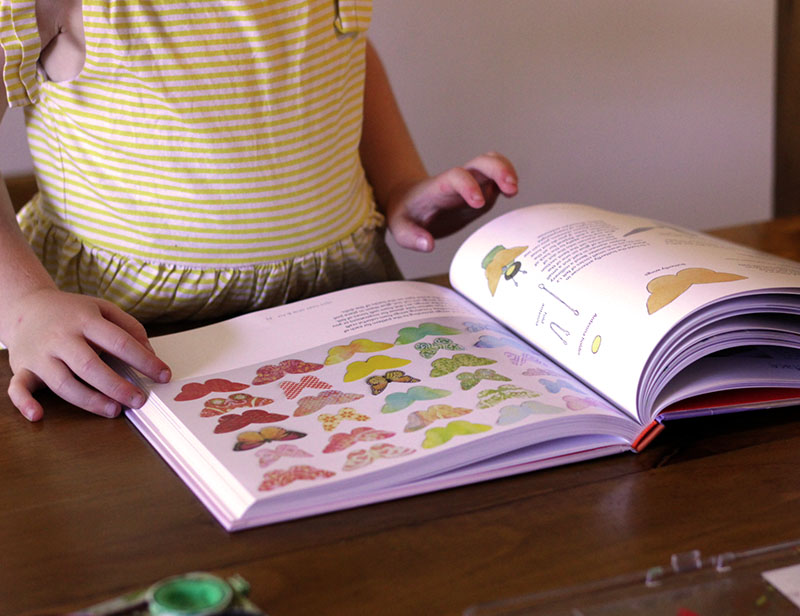
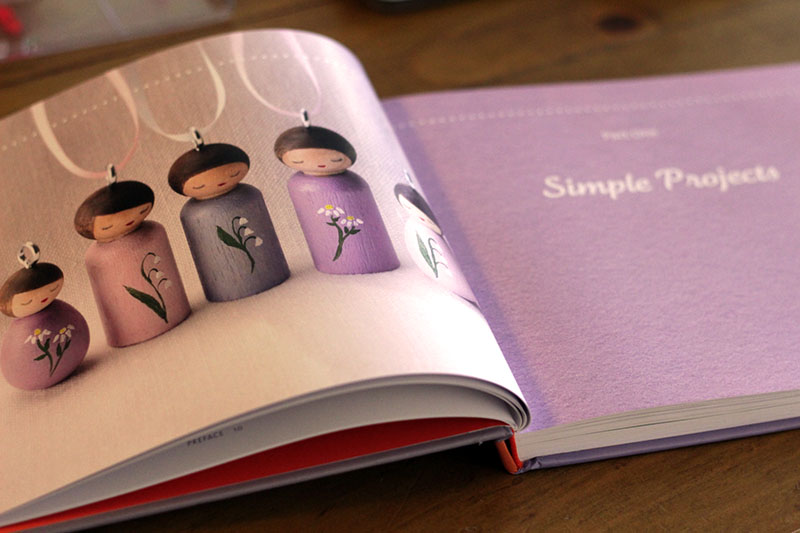
While I helped Teddy go to sleep the other day, Ruby pored over the inspiring book Making Peg Dolls & More.

Every couple of minutes I would hear her exclaim about something so cute that she wanted to make *grin*

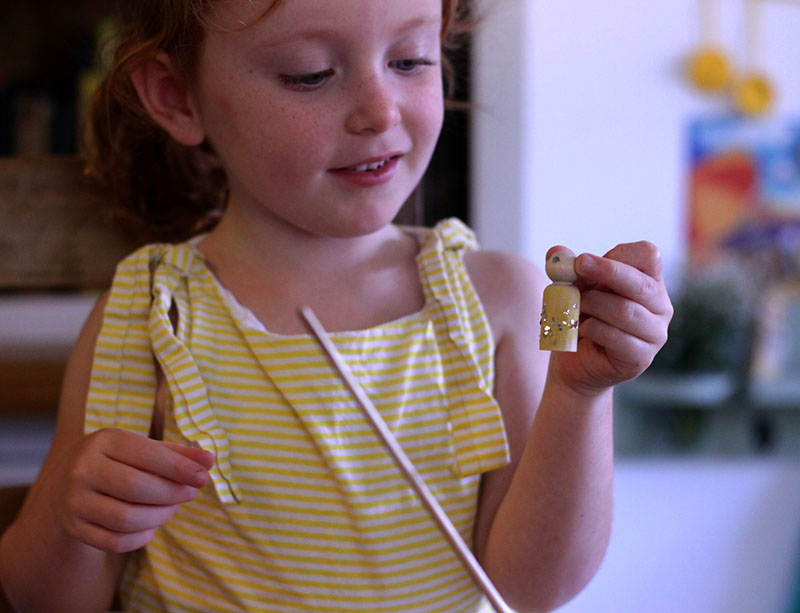
Ruby with her peg doll

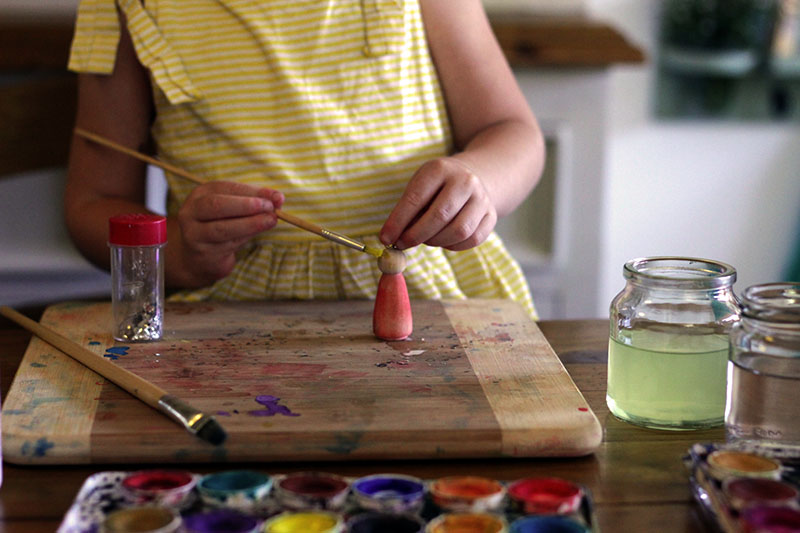
She helped find the materials she needed. The peg dolls, the paint, the glitter {oh my, this girl loves glitter}.

Then she set down to work. Chattering away as she went.

looking in the peg doll book

Later, Ruby beamed up at me as she said ‘I made it all by myself’.

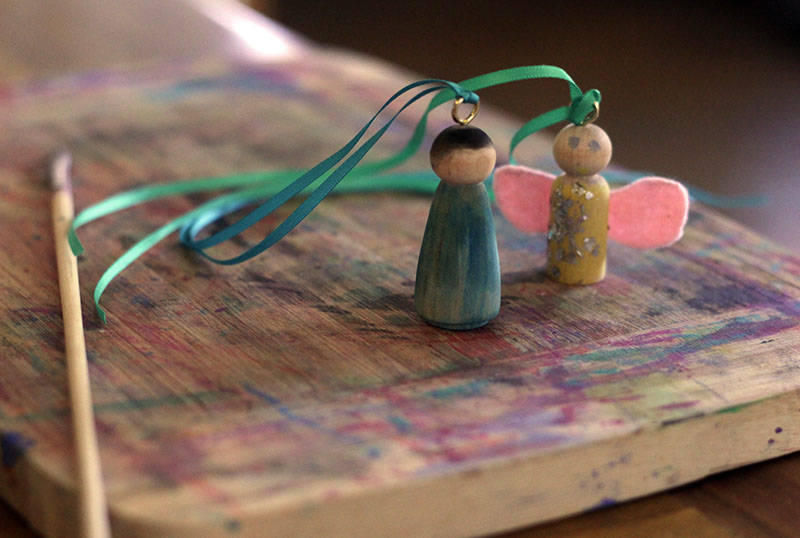
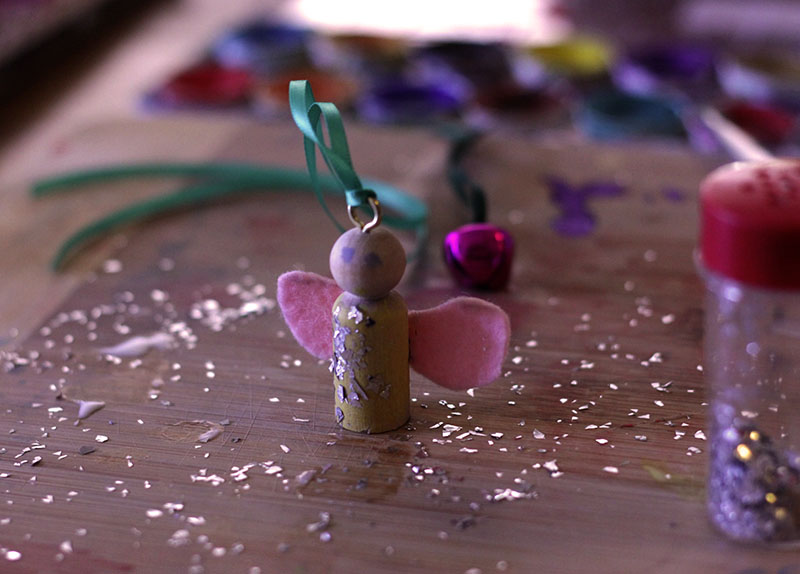
And so she did {well almost}. A sweet peg doll necklace for a sweet friend of hers.

painting peg dolls

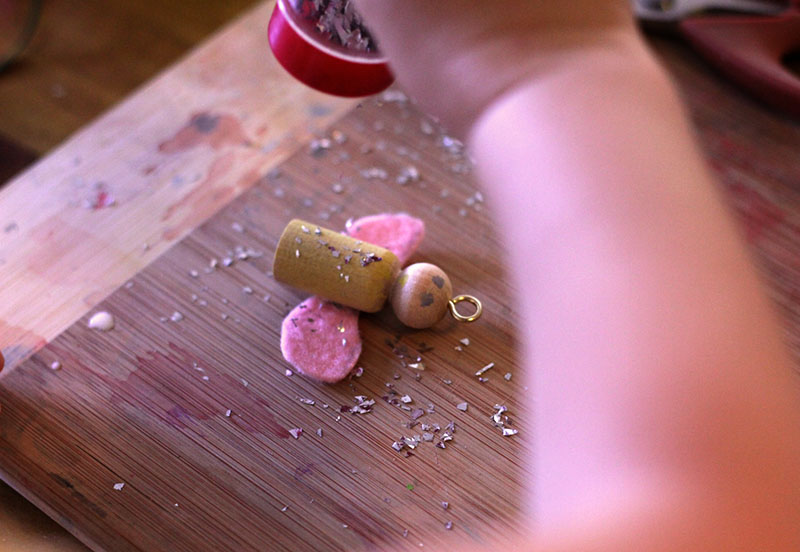
She chose yellow paint, pink wings and silver glitter. Finished with a pretty green ribbon to turn her peg doll into a necklace.

Do you think she’ll wear this often? She asked me, as she tilted her head to the side. It is very beautiful, she said.

peg doll glitter

Oh this girl, she makes my heart melt.

And I see many, many more days of crafting together ahead of us. And many, many peg dolls in our home *grin*

Rubys peg doll

And we won’t run out of inspiration with all the gorgeous ideas from Margaret Bloom’s book Making Peg Dolls & More.

{and if you pop over to Honeybee Toys you can purchase Making Peg Dolls & More together with wooden finger puppets and receive 10% off both until 30 March. Use discount code “peg0216”}

Making peg dolls book

With such beautifully photographed and easy to follow tutorials, Margaret Bloom truly is the queen of the peg dolls <3

And you can find more tutorials on Margaret’s blog, We Bloom Here.

Happy crafting, Kelly